
When logged into Zoho as an administrator. go to one of following links based on your Zoho Setup (Zoho documentation):
US Users: https://accounts.zoho.com/developerconsole
EU Users: https://accounts.zoho.eu/developerconsole
China Users: https://accounts.zoho.com.cn/developerconsole
Click Add Client ID.

Select Server-based Applications to create your Client ID:
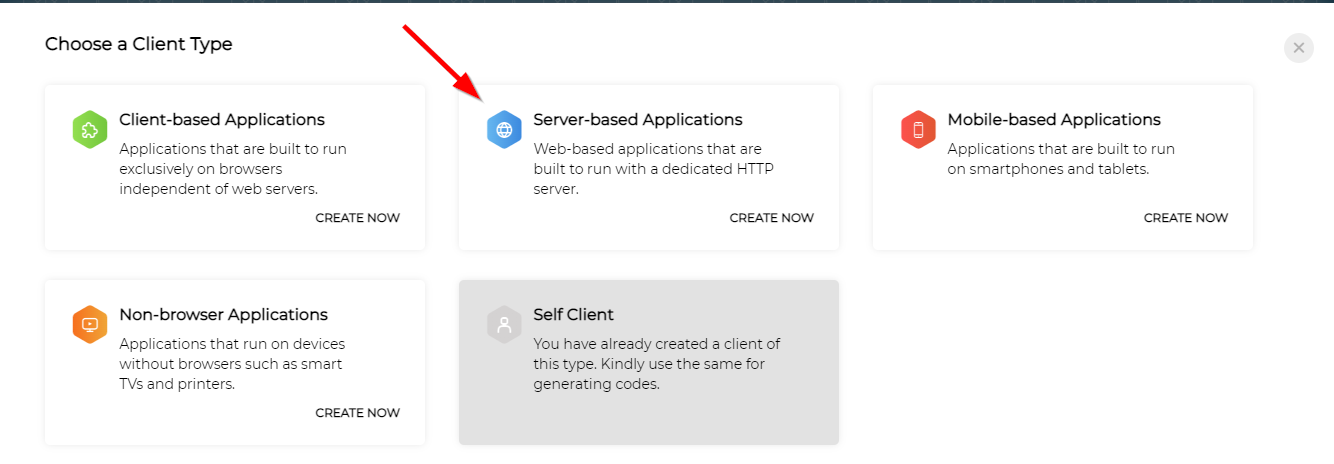
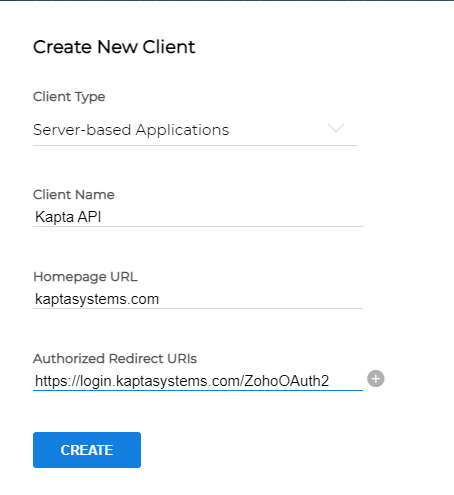
Use the following settings:
| Client Name | Kapta API |
| Homepage URL | kaptasystems.com |
| Authorised redirect URIs | https://login.kaptasystems.com/ZohoOAuth2 |
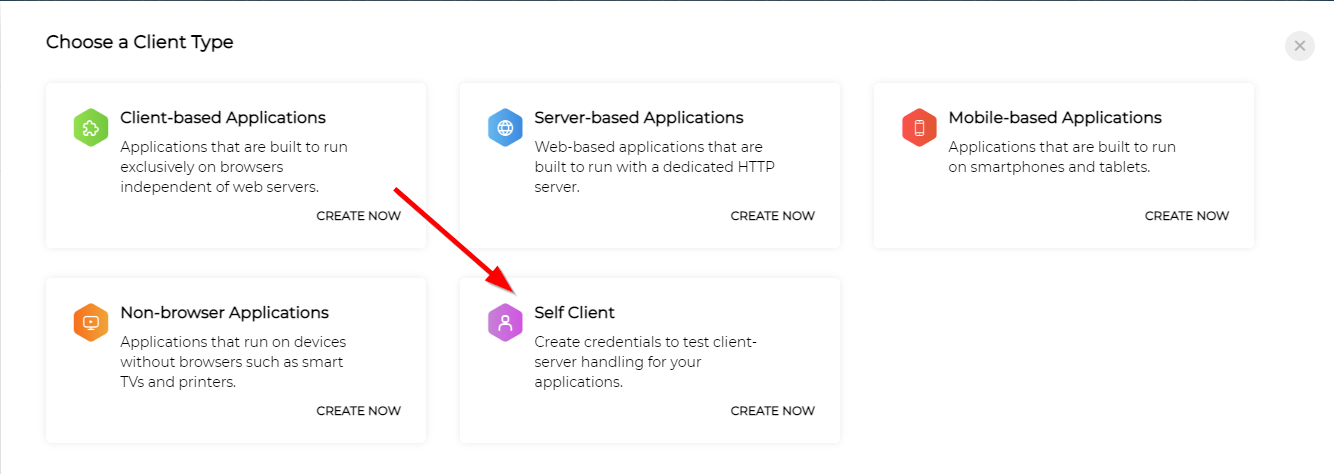
Once complete, you'll then need add a Self Client:
Click Add Client a second time.

This time, select Self Client:
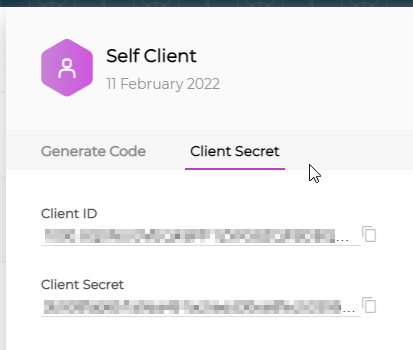
Follow the instructions to create the basic Self Client. When the first steps are complete, you'll see the Client ID and Client Secret available. Save these two values, as these will be entered into Kapta within your Zoho Integration setup.
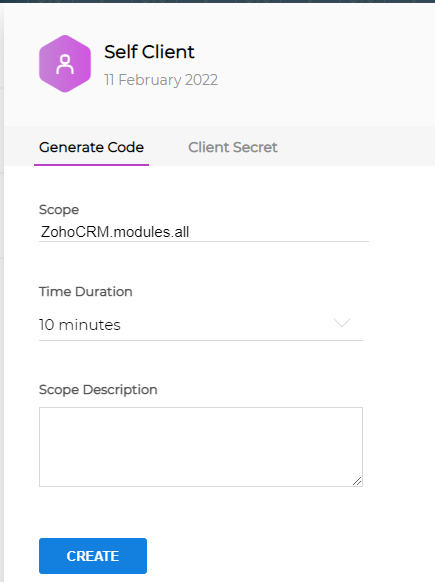
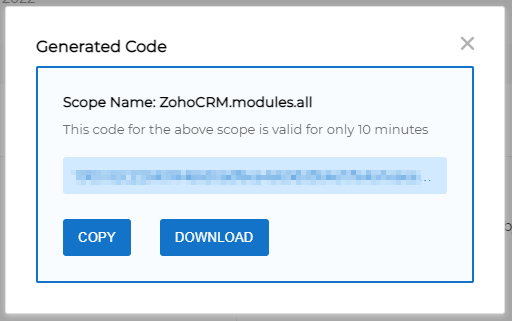
Next, navigate to the Generate Code tab. For Scope, enter ZohoCRM.modules.all. For Expiry, we recommend 10 minutes, to give yourself enough time to update Kapta. After creating the Self Client, you'll be provided with a Self Client authorization code. Copy this value as well, since will also be entered into the Kapta Integration setup.
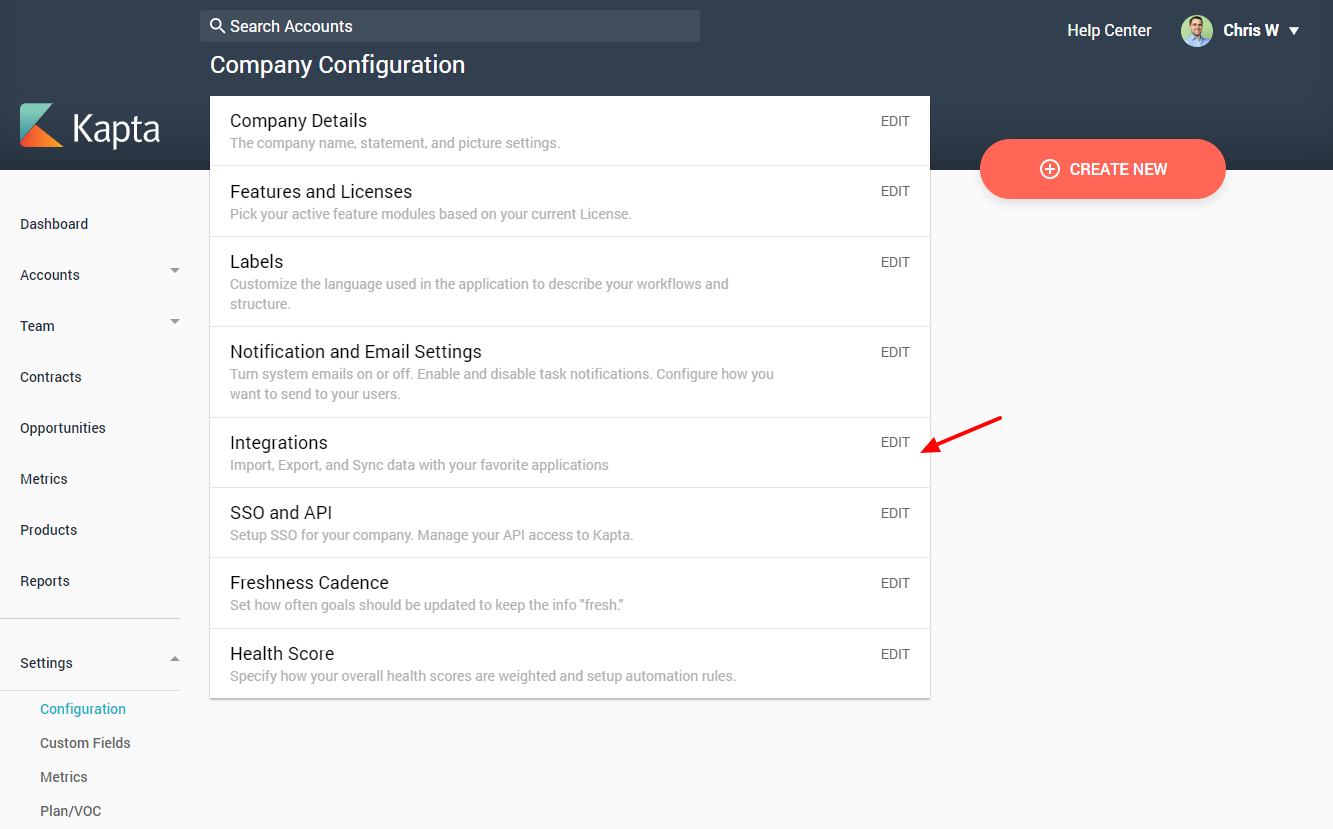
When you have all three IDs, return to Kapta and open Settings / Configuration. Click the Edit link for Integrations.
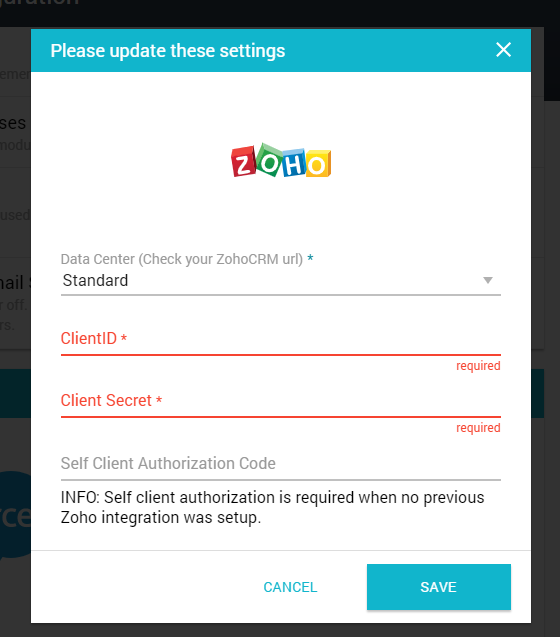
Enable Zoho with the slider. If Zoho is already activated, turn it off and on.

Here is where you'll need to enter the ClientID, Client Secret, and Self Client ID. Leave the Data Center as Standard, except for EU and China users who will have to change this.
After saving, the integration should be complete. If anything doesn't work as it should, email support@kapta.com for assistance.
Comments
0 comments
Article is closed for comments.