
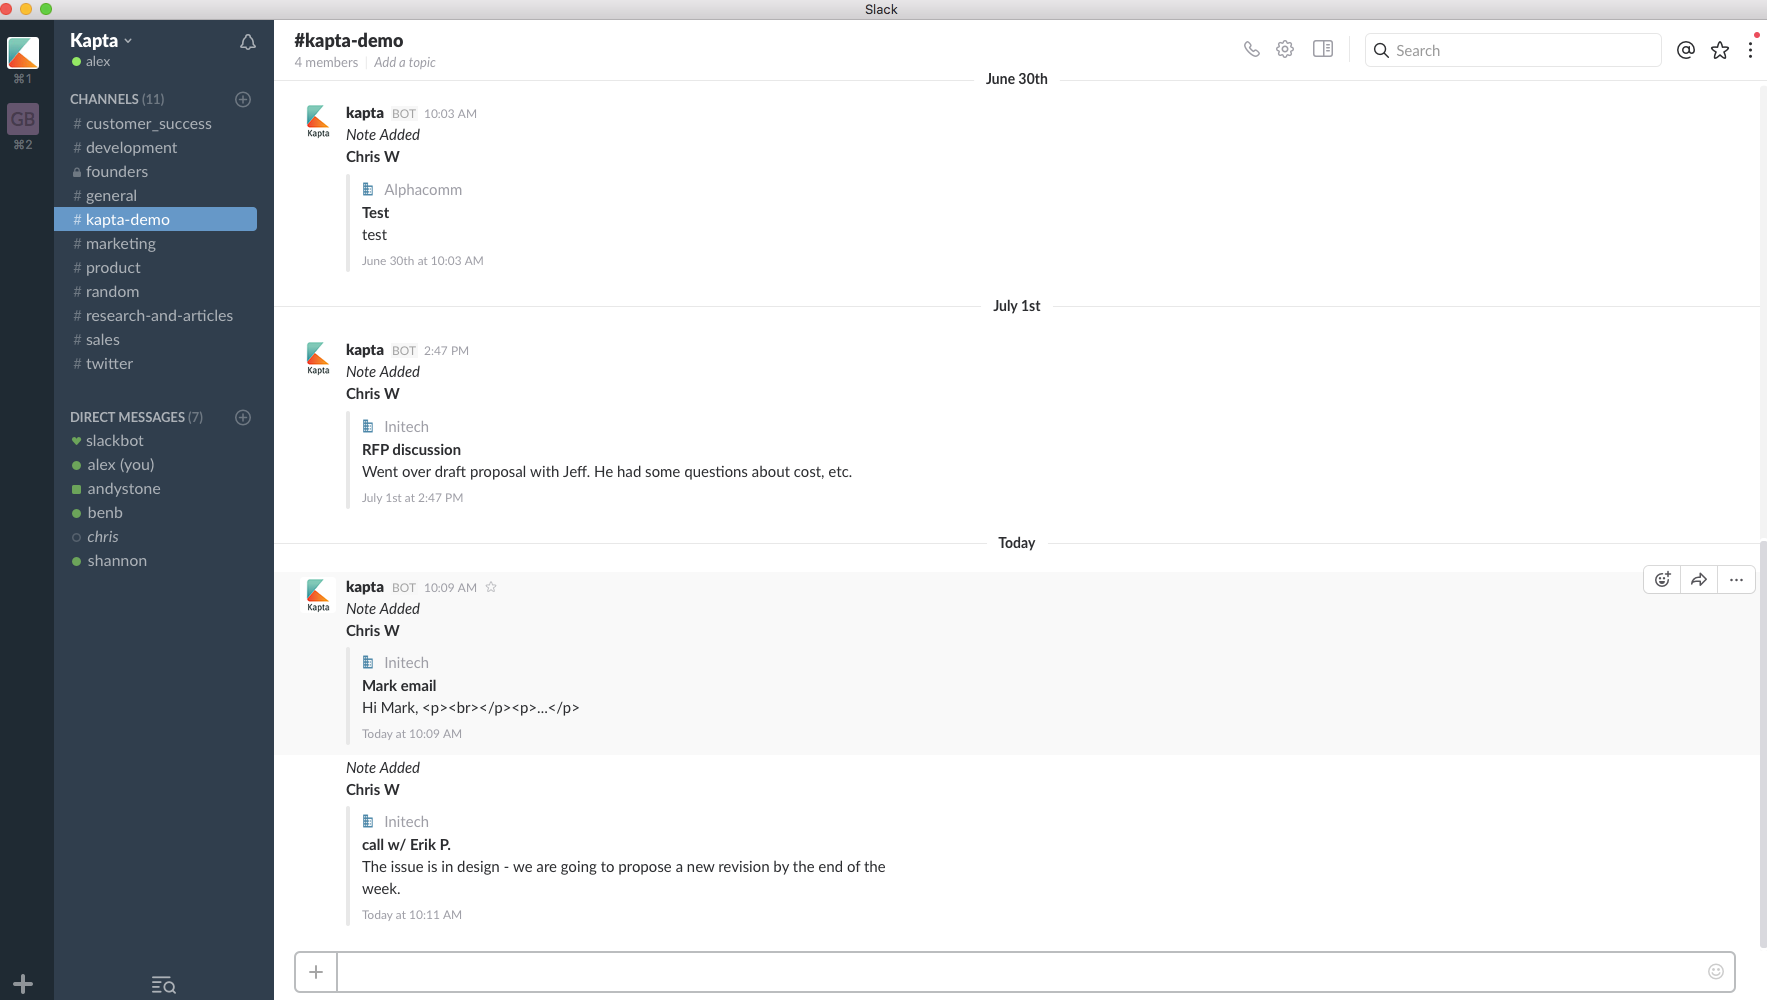
You can publish Kapta notes directly into a Slack channel, even for non-Kapta users. This page will address enabling the Slack Integration Feature, and how to add a specific channel to an account.
Enabling the Slack Integration Feature:
While in Kapta, choose Settings / Configuration
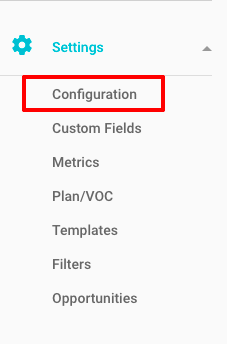
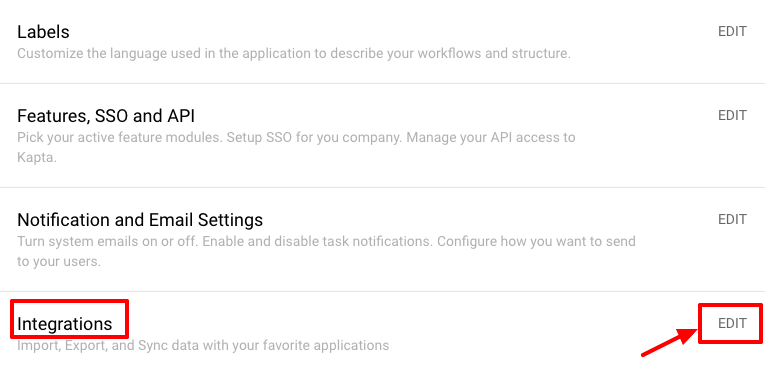
Click the Edit link for Integrations.
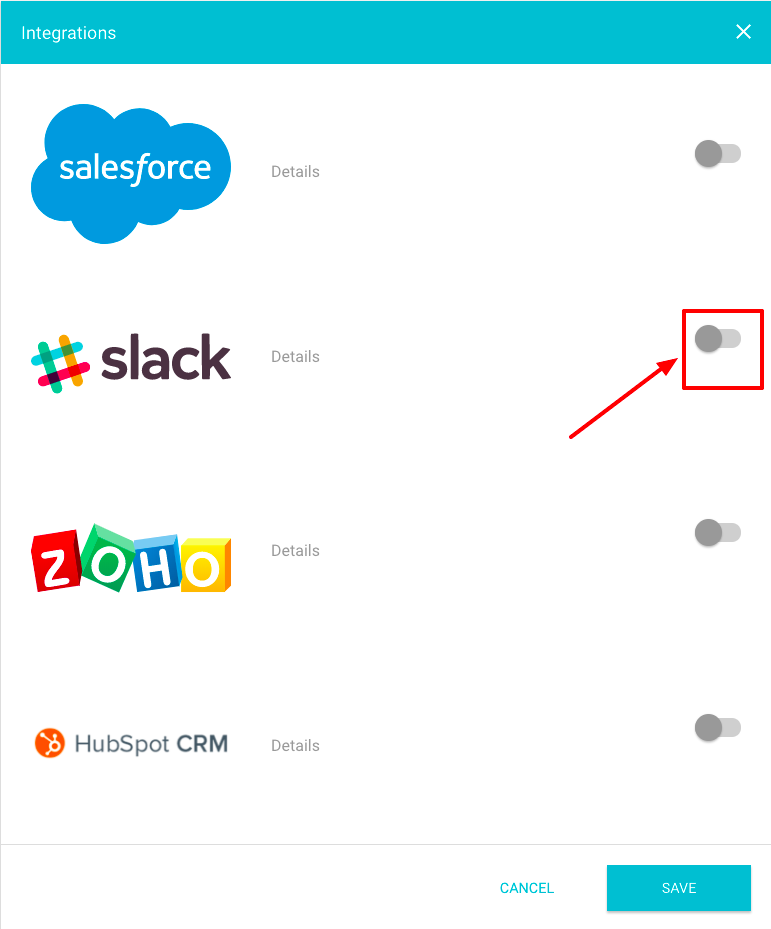
Use the slider to enable Slack integration, then save.
Click Authorize, and choose the Slack Team you'd like to link to Kapta.

Select the default channel for all Kapta Account notes, via the dropdown menu next to Post to.
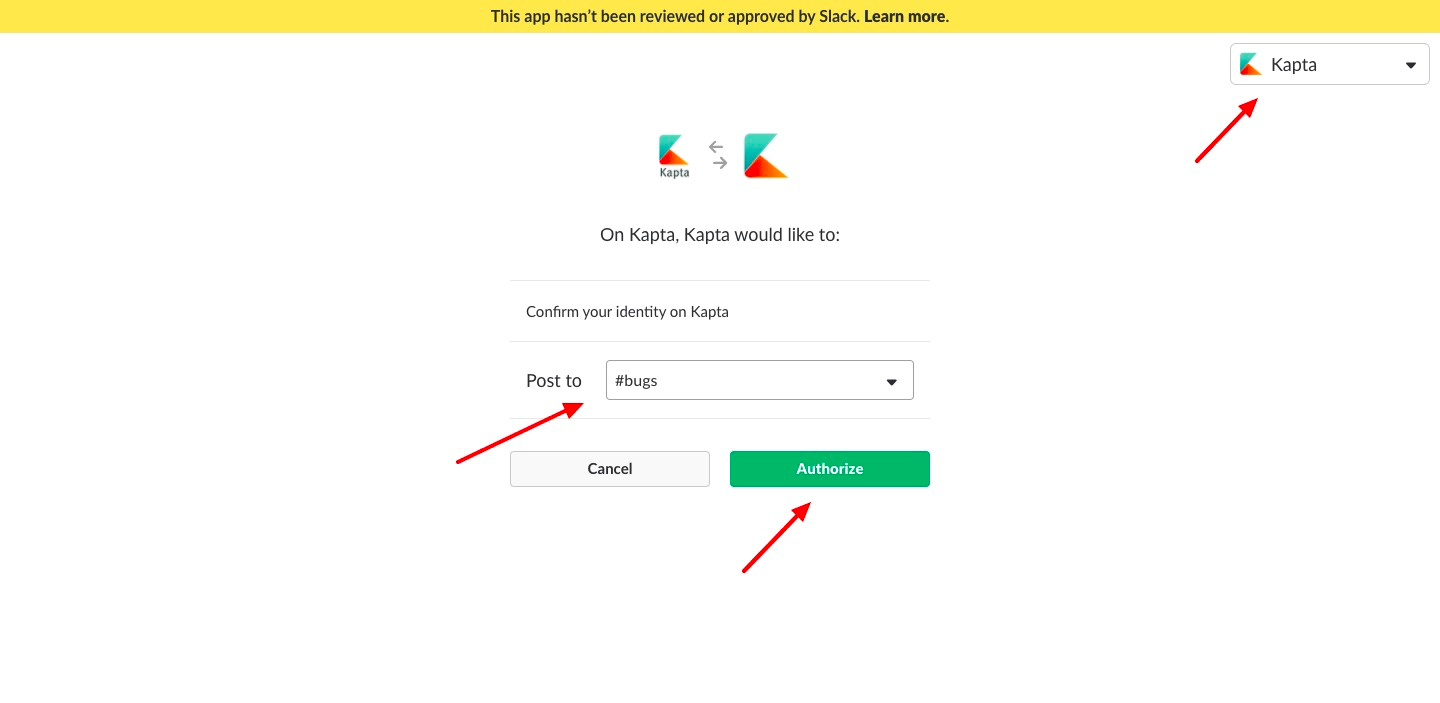
Note that each account within Kapta can be assigned a specific Slack channel, which will override the default channel and only publish in the assigned channel rather than the default.
Once this step is complete, you will be redirected back to the Kapta application with a success message.
Now each customer account can be directed to a specific Slack channel. If a Slack Channel is not selected within the individual account, the saved notes will post in the default Slack Channel selected during setup.
Assigning a Kapta account to a specific Slack channel:
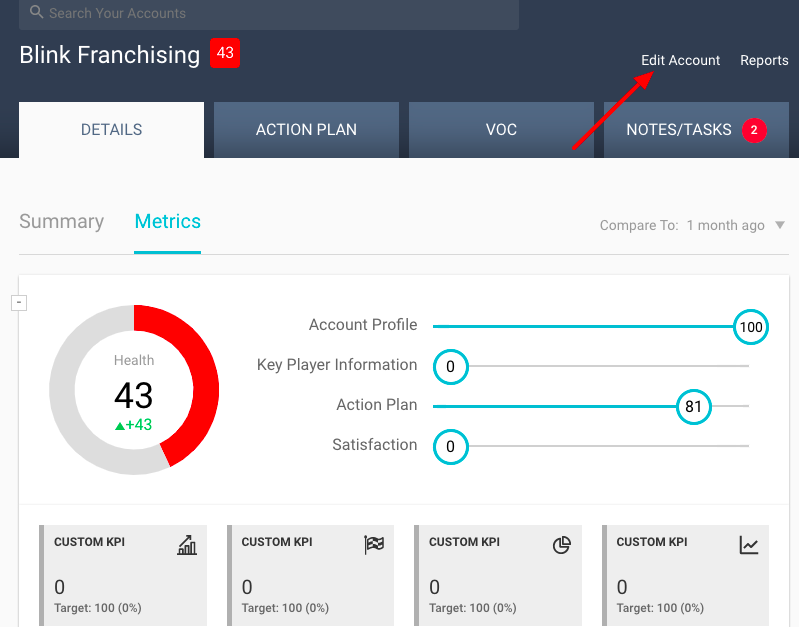
Open the account, and click the Edit Account link.
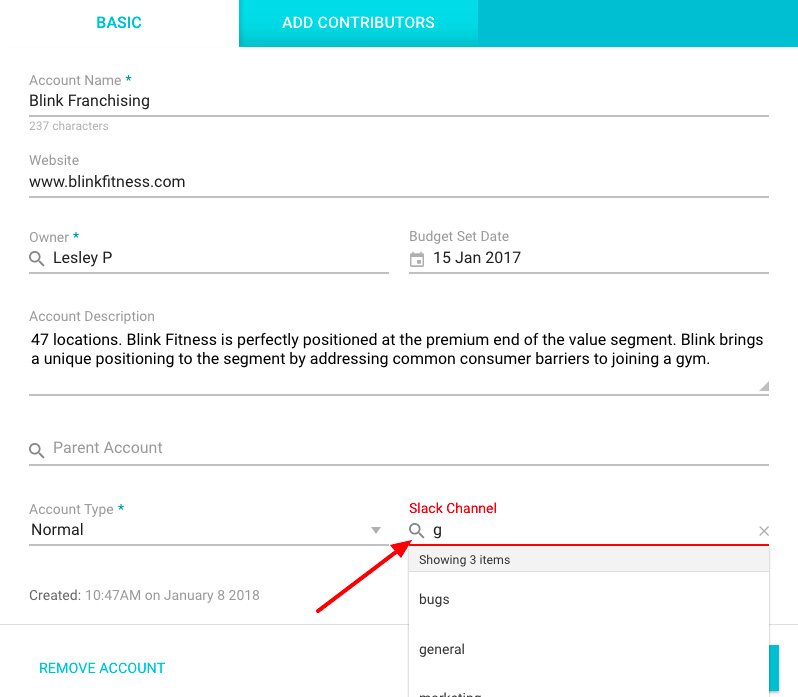
In the BASIC tab, start typing the name of the desired channel in the Slack Channel Field, and the list will populate based on matching. To get the full channel list, type any letter and then delete it.
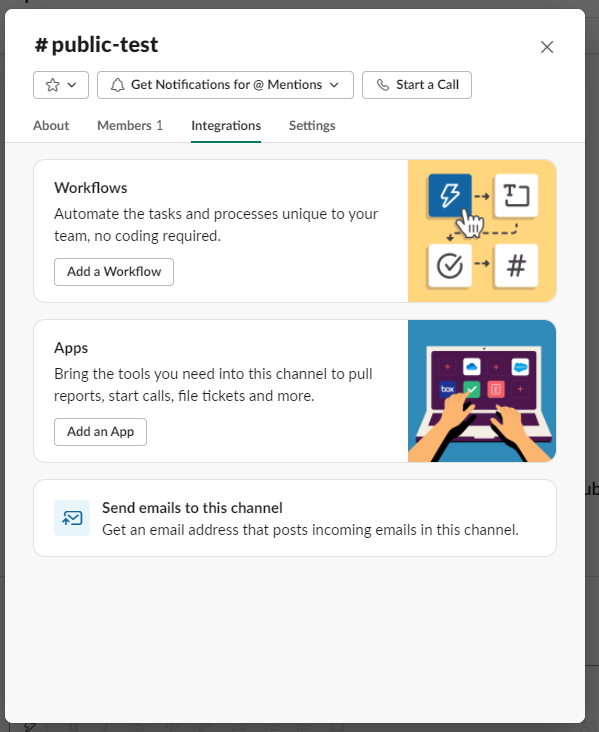
Click Save. Now you will need to go to the channel you picked and ensure the Kapta integration is enabled on your channel. Go to the slack channel and click on the member list in the upper right hand corner.

Then click on the "Integrations" tab and add the Kapta App if it's not already enabled.
Comments
0 comments
Article is closed for comments.