
To configure Kapta to integrate with Azure AD, follow these steps:
First you'll need to register Kapta as a web app in your Azure portal. In the Azure portal, search for App Registrations, and click add.
This brings you to this screen:
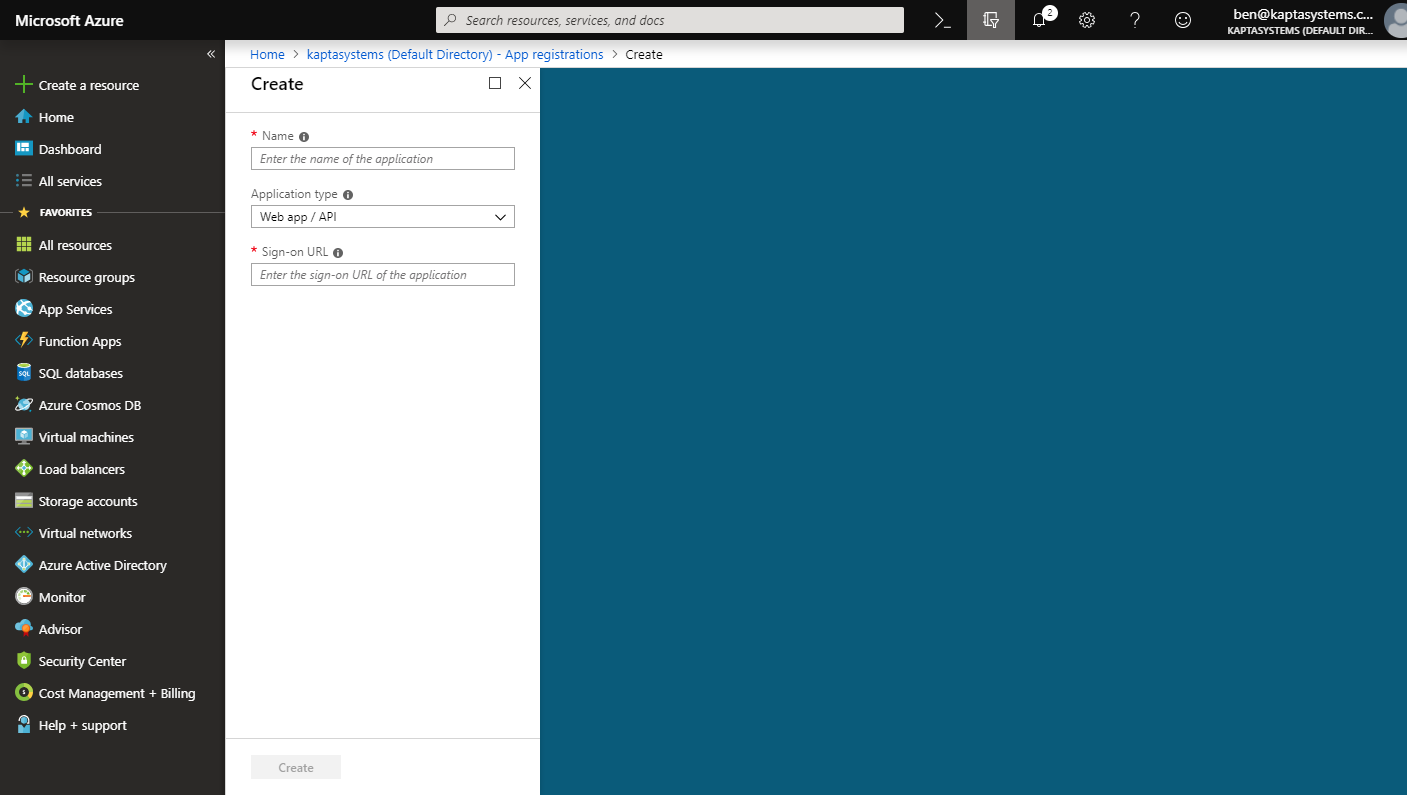
Assign a name along the lines of "Kapta SSO."
Choose Web app/API as the Application Type.
Finally, use this address for your Sign-on URL: https://login.kaptasystems.com.
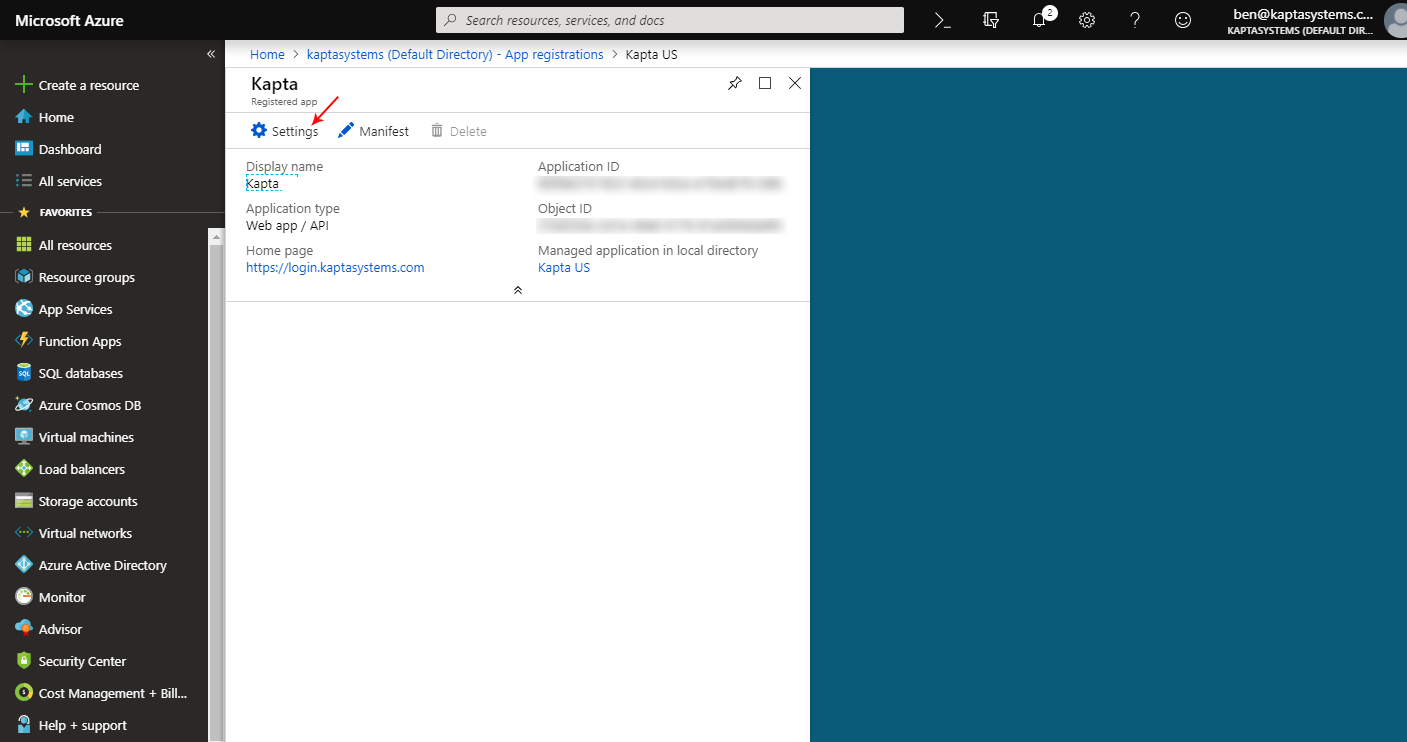
After clicking Create, Azure will assign you the various client / application keys that you will use in the next steps.

Next, you'll need to add two reply URLs to this applications. Click Settings.
You will then see a list of options. Choose Reply URLs and enter the following items:
https://login.kaptasystems.comhttps://login.kaptasystems.com/OAuth2Authorize
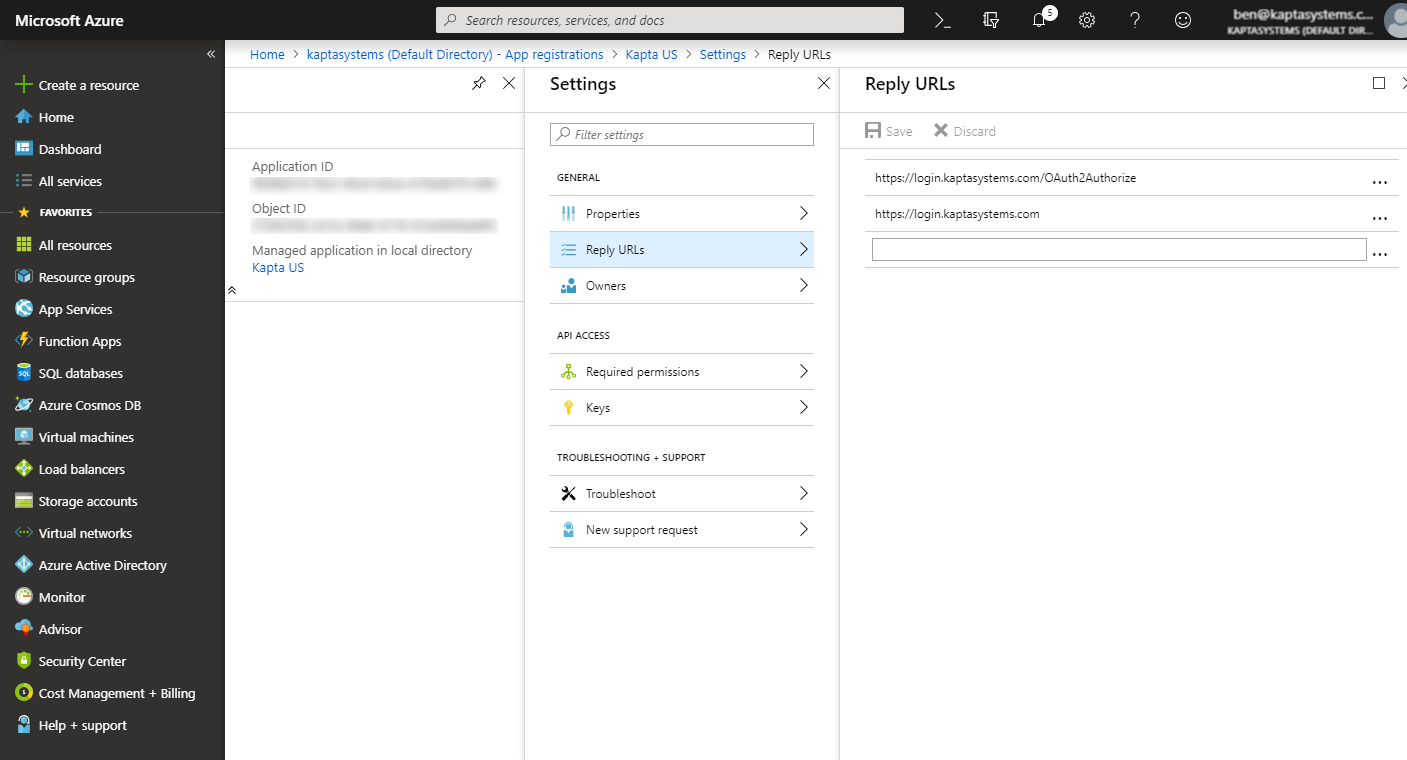
Note: if you are using the new Azure interface, you may also need to enable ID Tokens. Not doing so will prevent us from accessing the user information.
Once you have all of your keys, you can then log into Kapta as an administrator.
Open Settings / Configuration / SSO and API, and choose Azure SSO.
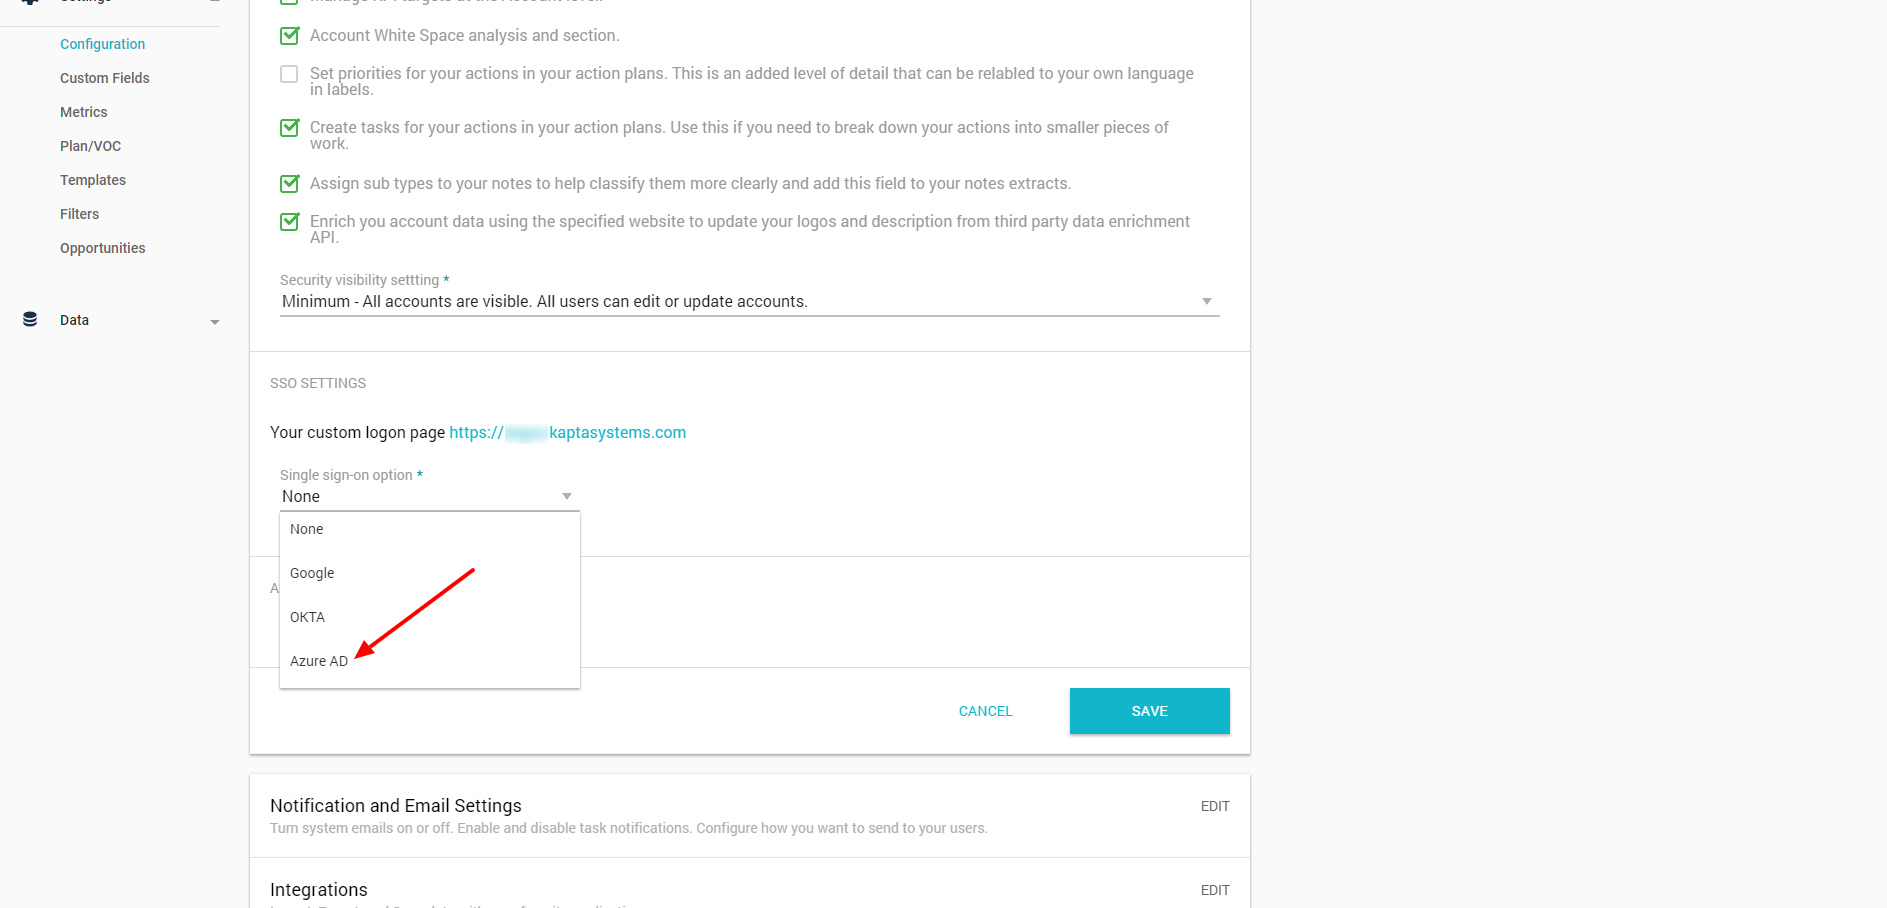
You will then be asked to fill in the client / application secret keys provided by Azure.
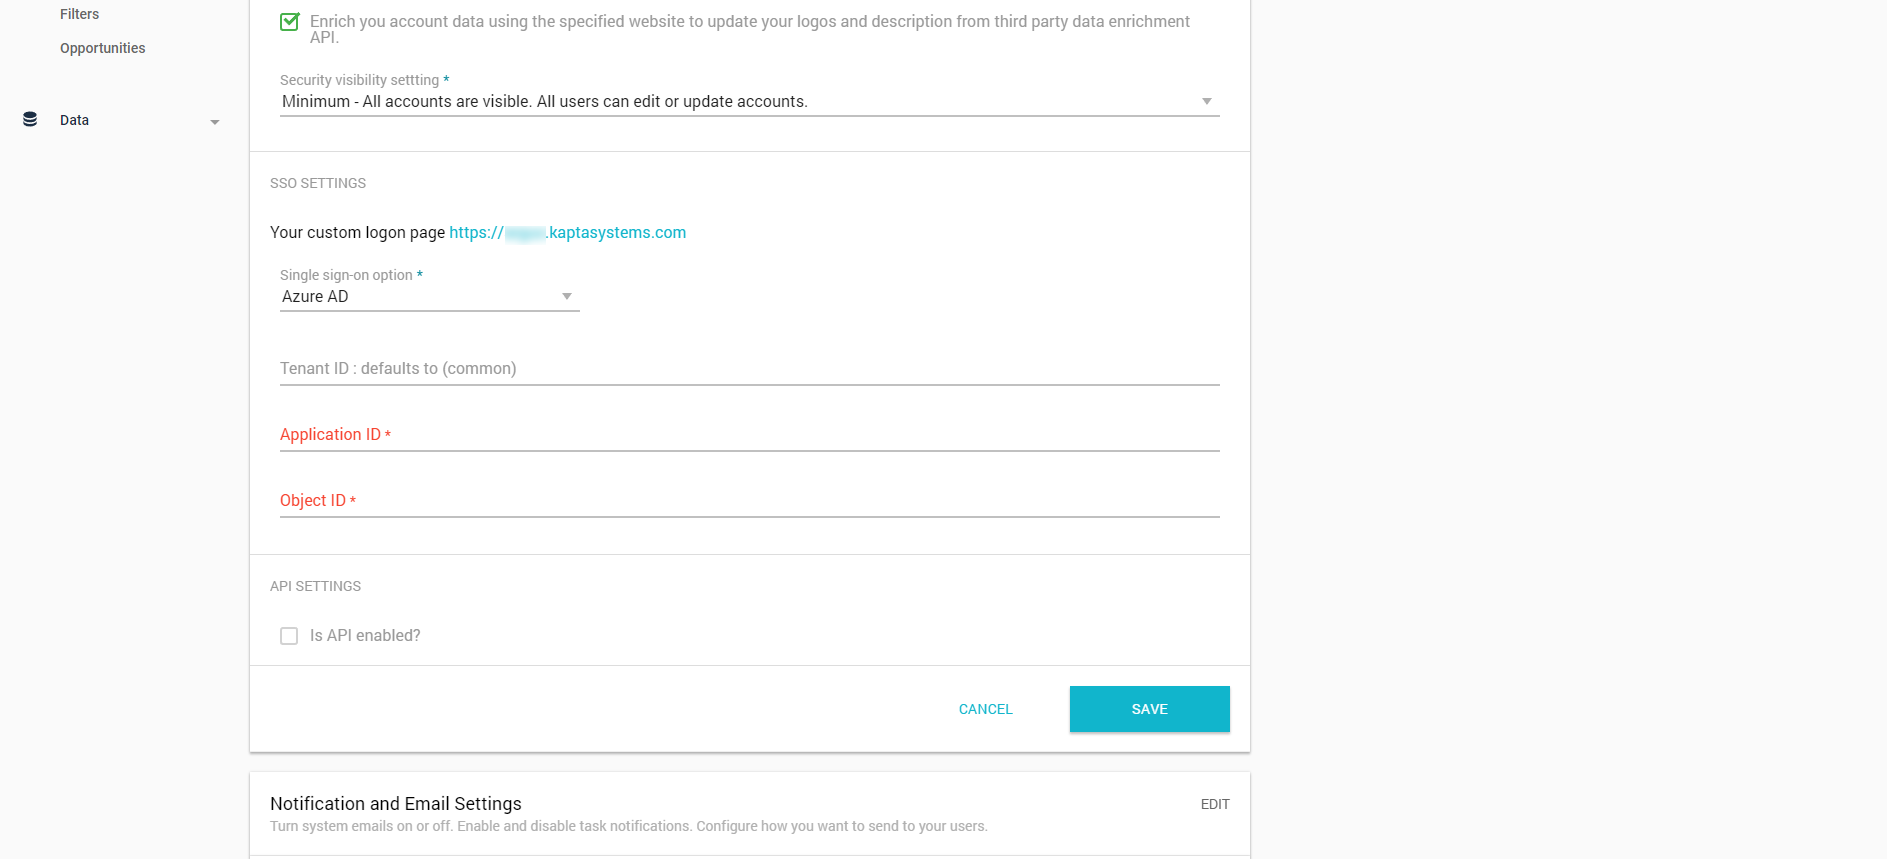
Fill these in and click Save. If your Azure setup requires a specific tenant ID, include it. Otherwise we use "common" as a default.
Please note the login page on this screen, because this will now be your company's login URL. This will ensure that you are redirected to your correct settings. If you try to log in normally, the application will redirect you to this URL as well, ensuring that all Authentication is done by Azure.
Comments
0 comments
Article is closed for comments.