
To setup Kapta to integration with Azure AD you must follow the following steps to do so.
Firstly you'll need to register Kapta as a web app in your Azure portal. In the azure portal search for "App Registrations" and click add.
You should then see the following screen
For the Name, you can choose any value you like (Something like "Kapta SSO"). Choose Web app/API as the Application Type. Lastly put in the following address for your redirect URL
https://login.kaptasystems.com/OAuth2Authorize
Click create and then Azure will assign you various client/application keys that you will use in the next steps.
Next you will need edit your redirect urls
You will need to enable both Access Tokens and ID Tokens
Lastly you will need to use the Application, Object, and Directory IDs for the next step.
After you get all of your keys, you can then login as an administrator into Kapta. Go to Settings - Configuration and click on "Features, SSO, and API". On this screen choose Azure SSO.
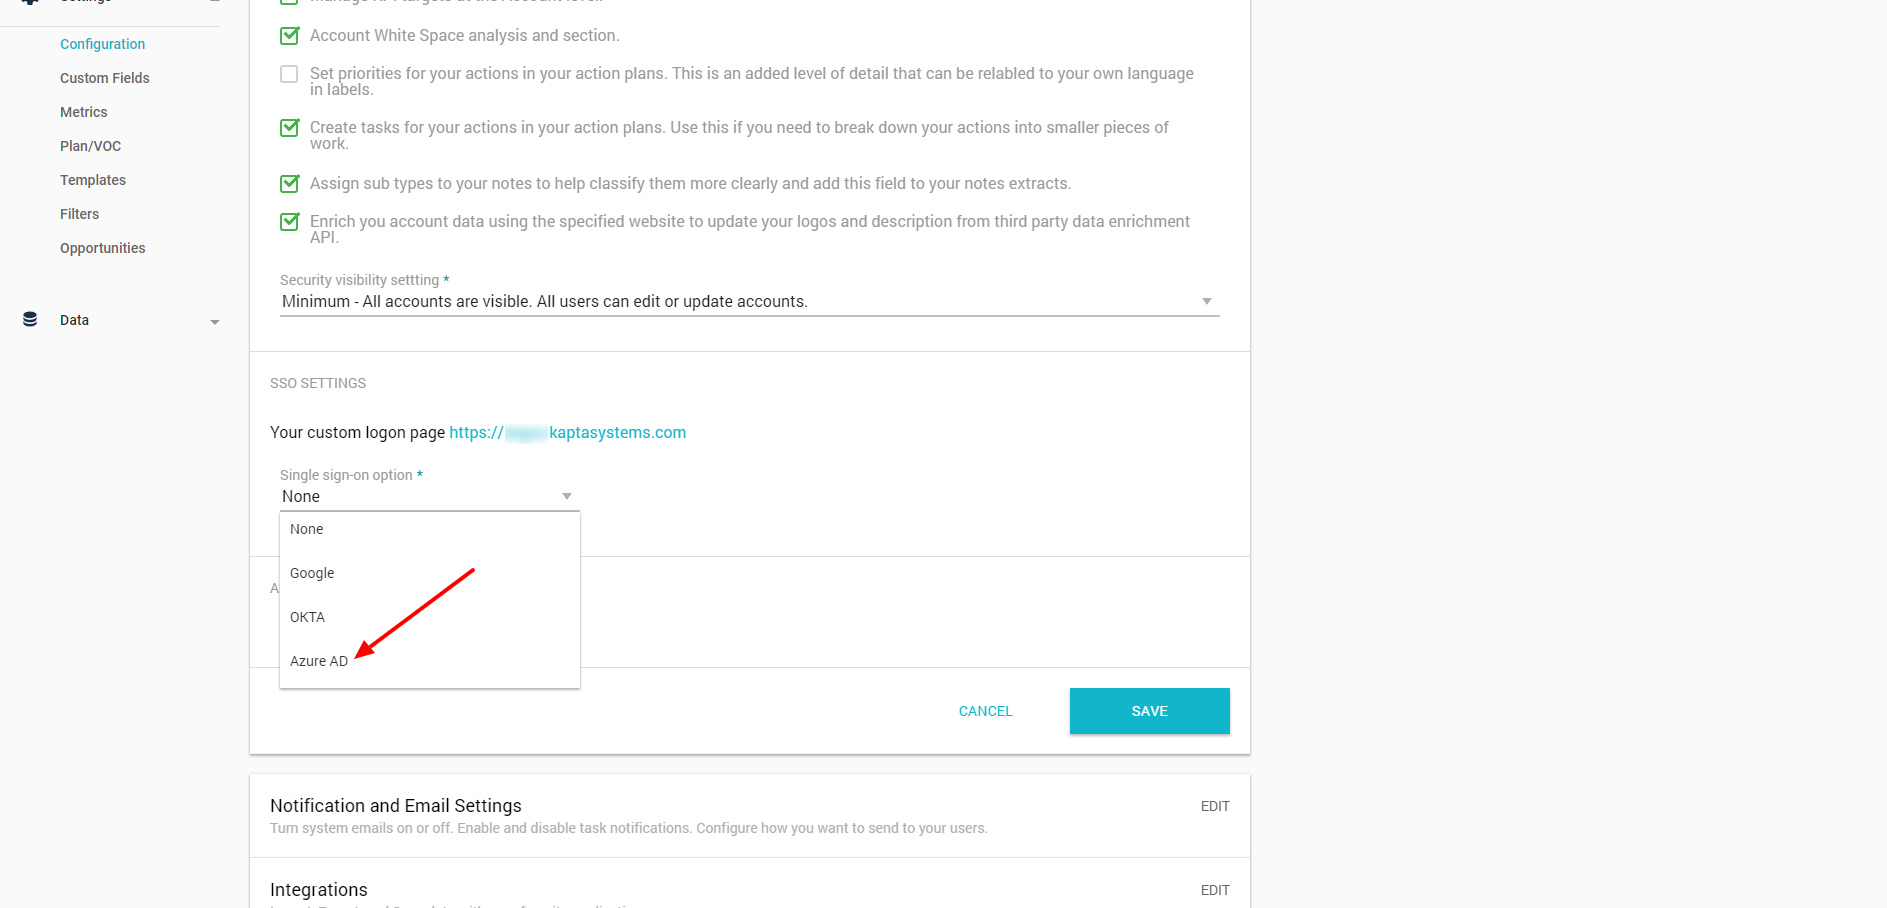
You will then be asked to fill in the client/application secret keys that Azure has provided you.
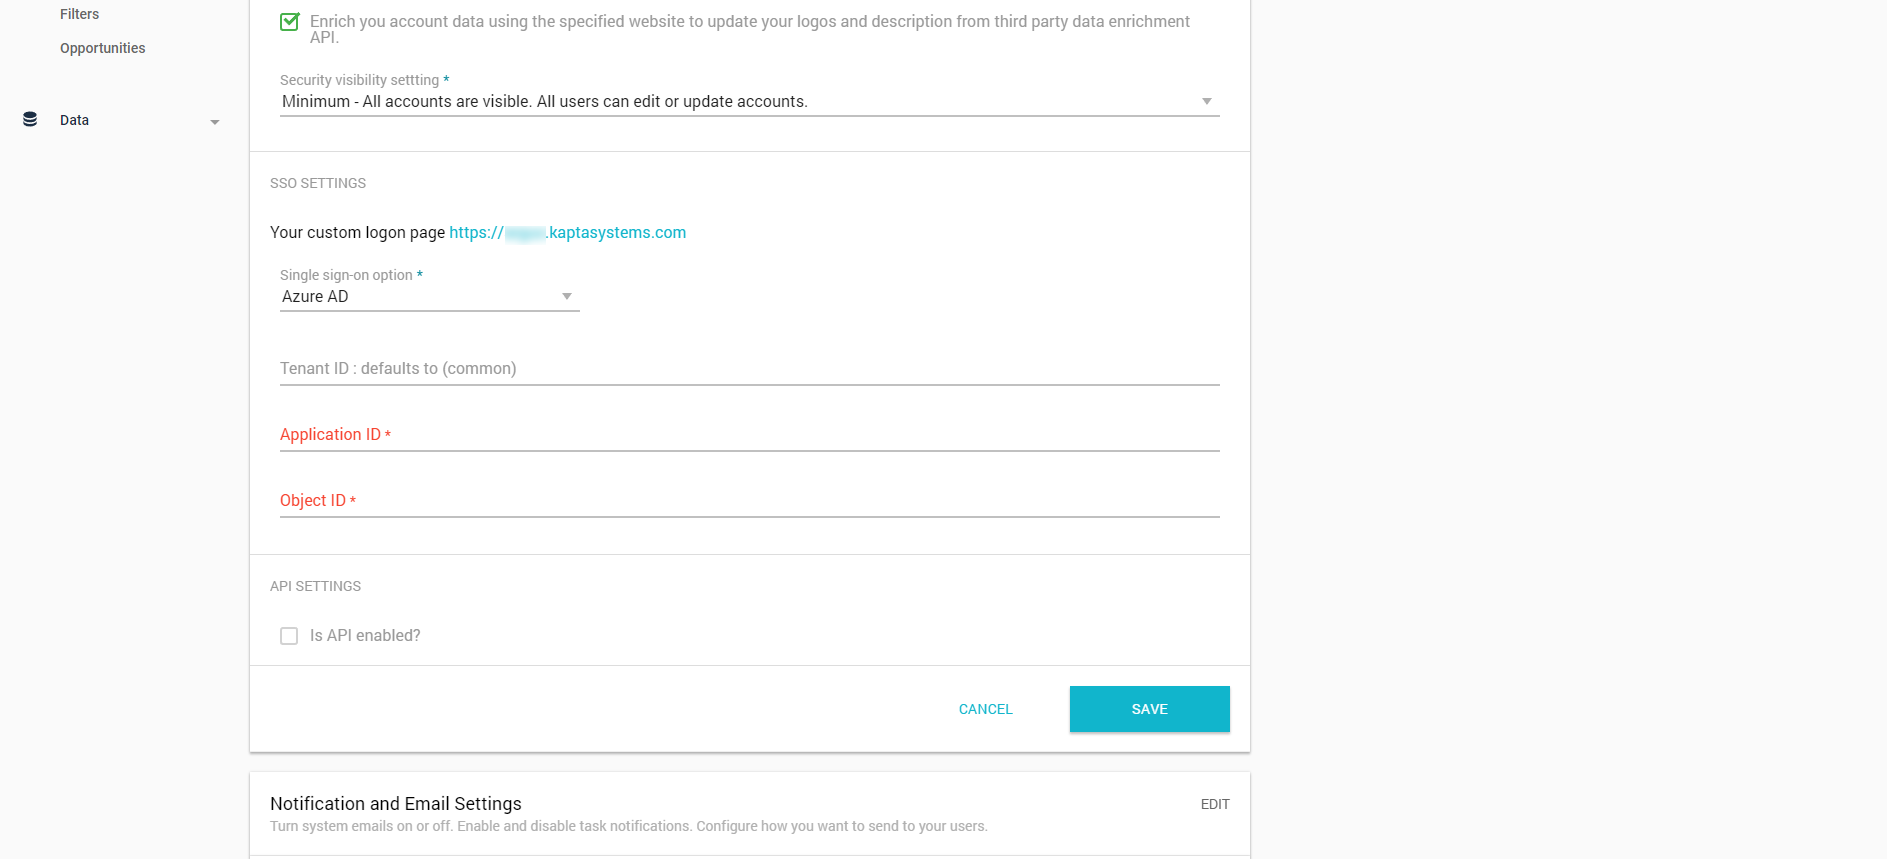
Fill these in and click Save. Your Azure setup may require a specific tenant ID, if so please include it else we use common as a default.
Please Note the Logon page on this screen as that will now be your company's login URL. This will ensure you are redirected to your correct settings. If you try to logon normally, the application will redirect you to this URL as well. Ensuring that all Authentication is done by Azure.
Comments
0 comments
Please sign in to leave a comment.