
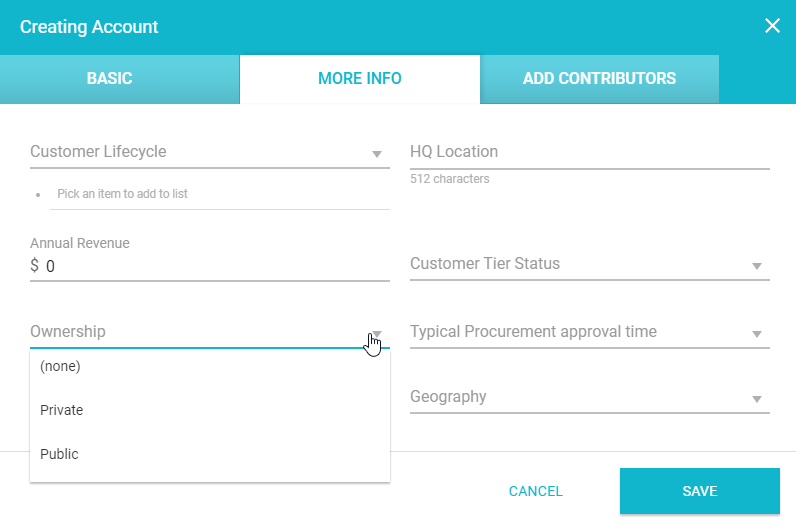
Throughout the Kapta UI, there are windows that contain a MORE INFO tab.
For example, when creating a new account, the MORE INFO tab can have text fields such as HQ Location or Annual Revenue, or drop-down lists for Customer Tier Status or Ownership.
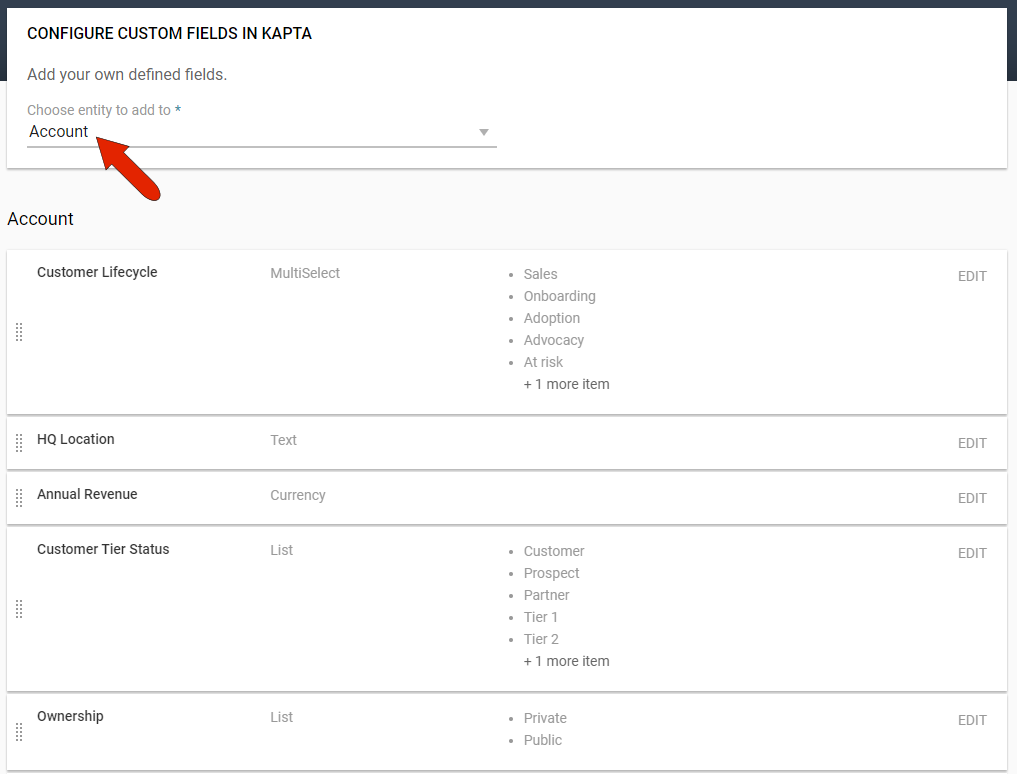
The Custom Fields settings is where the administrator can configure what appears in these MORE INFO tabs. Choose the entity whose menu you want to edit, such as Accounts, and you’ll see the list of any existing fields.
Note: If Hubspot integration is enabled, admin users can create custom fields linked to Hubspot fields.
In this example, the fields include:
- A Multi-Select field for Customer Lifecycle
- Text fields for HQ Location and Annual Revenue
- Drop-down List fields for Customer Tier Status and Ownership
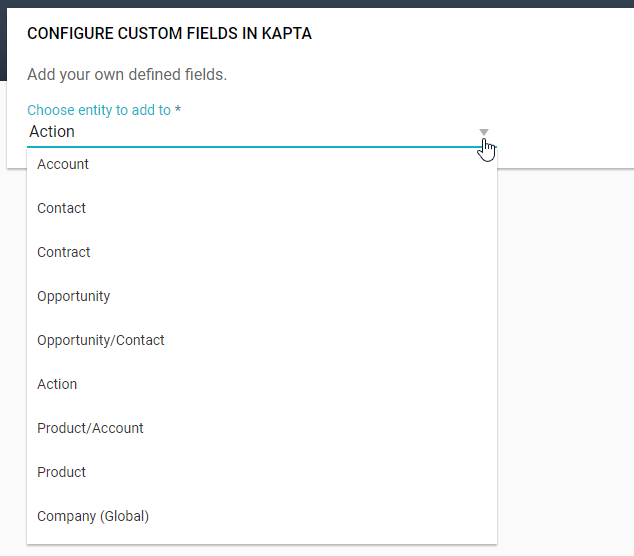
We recommend that you look through the custom fields for all entities that have a MORE INFO tab, such as Account, Contact, Contract, Action, etc.
The following example will show how to add a custom field to an account's MORE INFO tab. Set the entity to Account, and click Add Account Custom Field.

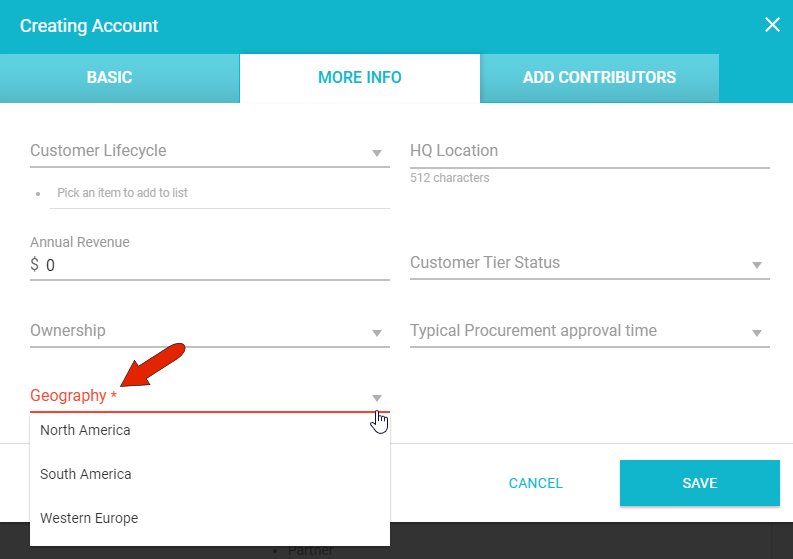
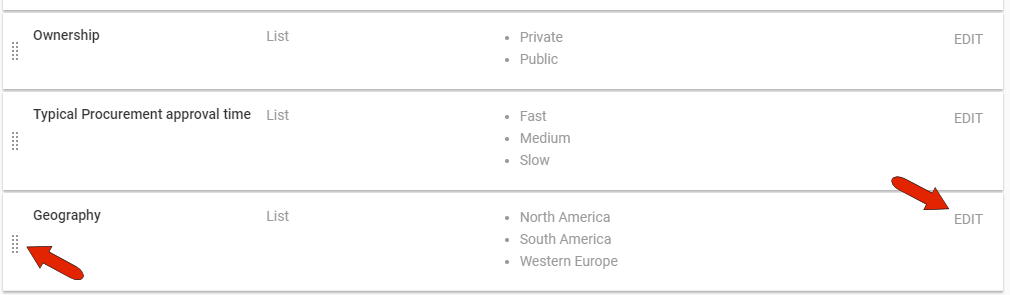
The field name is “Geography,” and it will be a List field.

Other field types include Percent, Date, URL, and Entity Lookup in which a search field will enable you to find other entities defined in the system, such as a specific contact.
Because this field is a List, the next step is to add each drop-down option one by one, pressing Enter or clicking Add after each. You can also make this field read-only or required.

After saving, this custom field will be available in the MORE INFO tab when a user creates a new account.
For any existing custom field, you can click Edit to make any changes, including removing the field. You can also reorder fields, by dragging a field by its Move icon on the left.
Comments
0 comments
Article is closed for comments.